
Managing Employee Time Entries
Adding/Update a Time Entry
To add a new time entry is incredibly simple, just enter the clock in time, the clock out time and the the job if required as well as optional details including in location/out location and a note. When entering a time into the 'in' or 'out' time screen, you can specify this time in the following formats:
09:12 - 24 hour format
9.12am - 12 hour format with dot
9:12am - 12 hour format with colon
Simply enter in the times and shift/tab across the save the time entry.
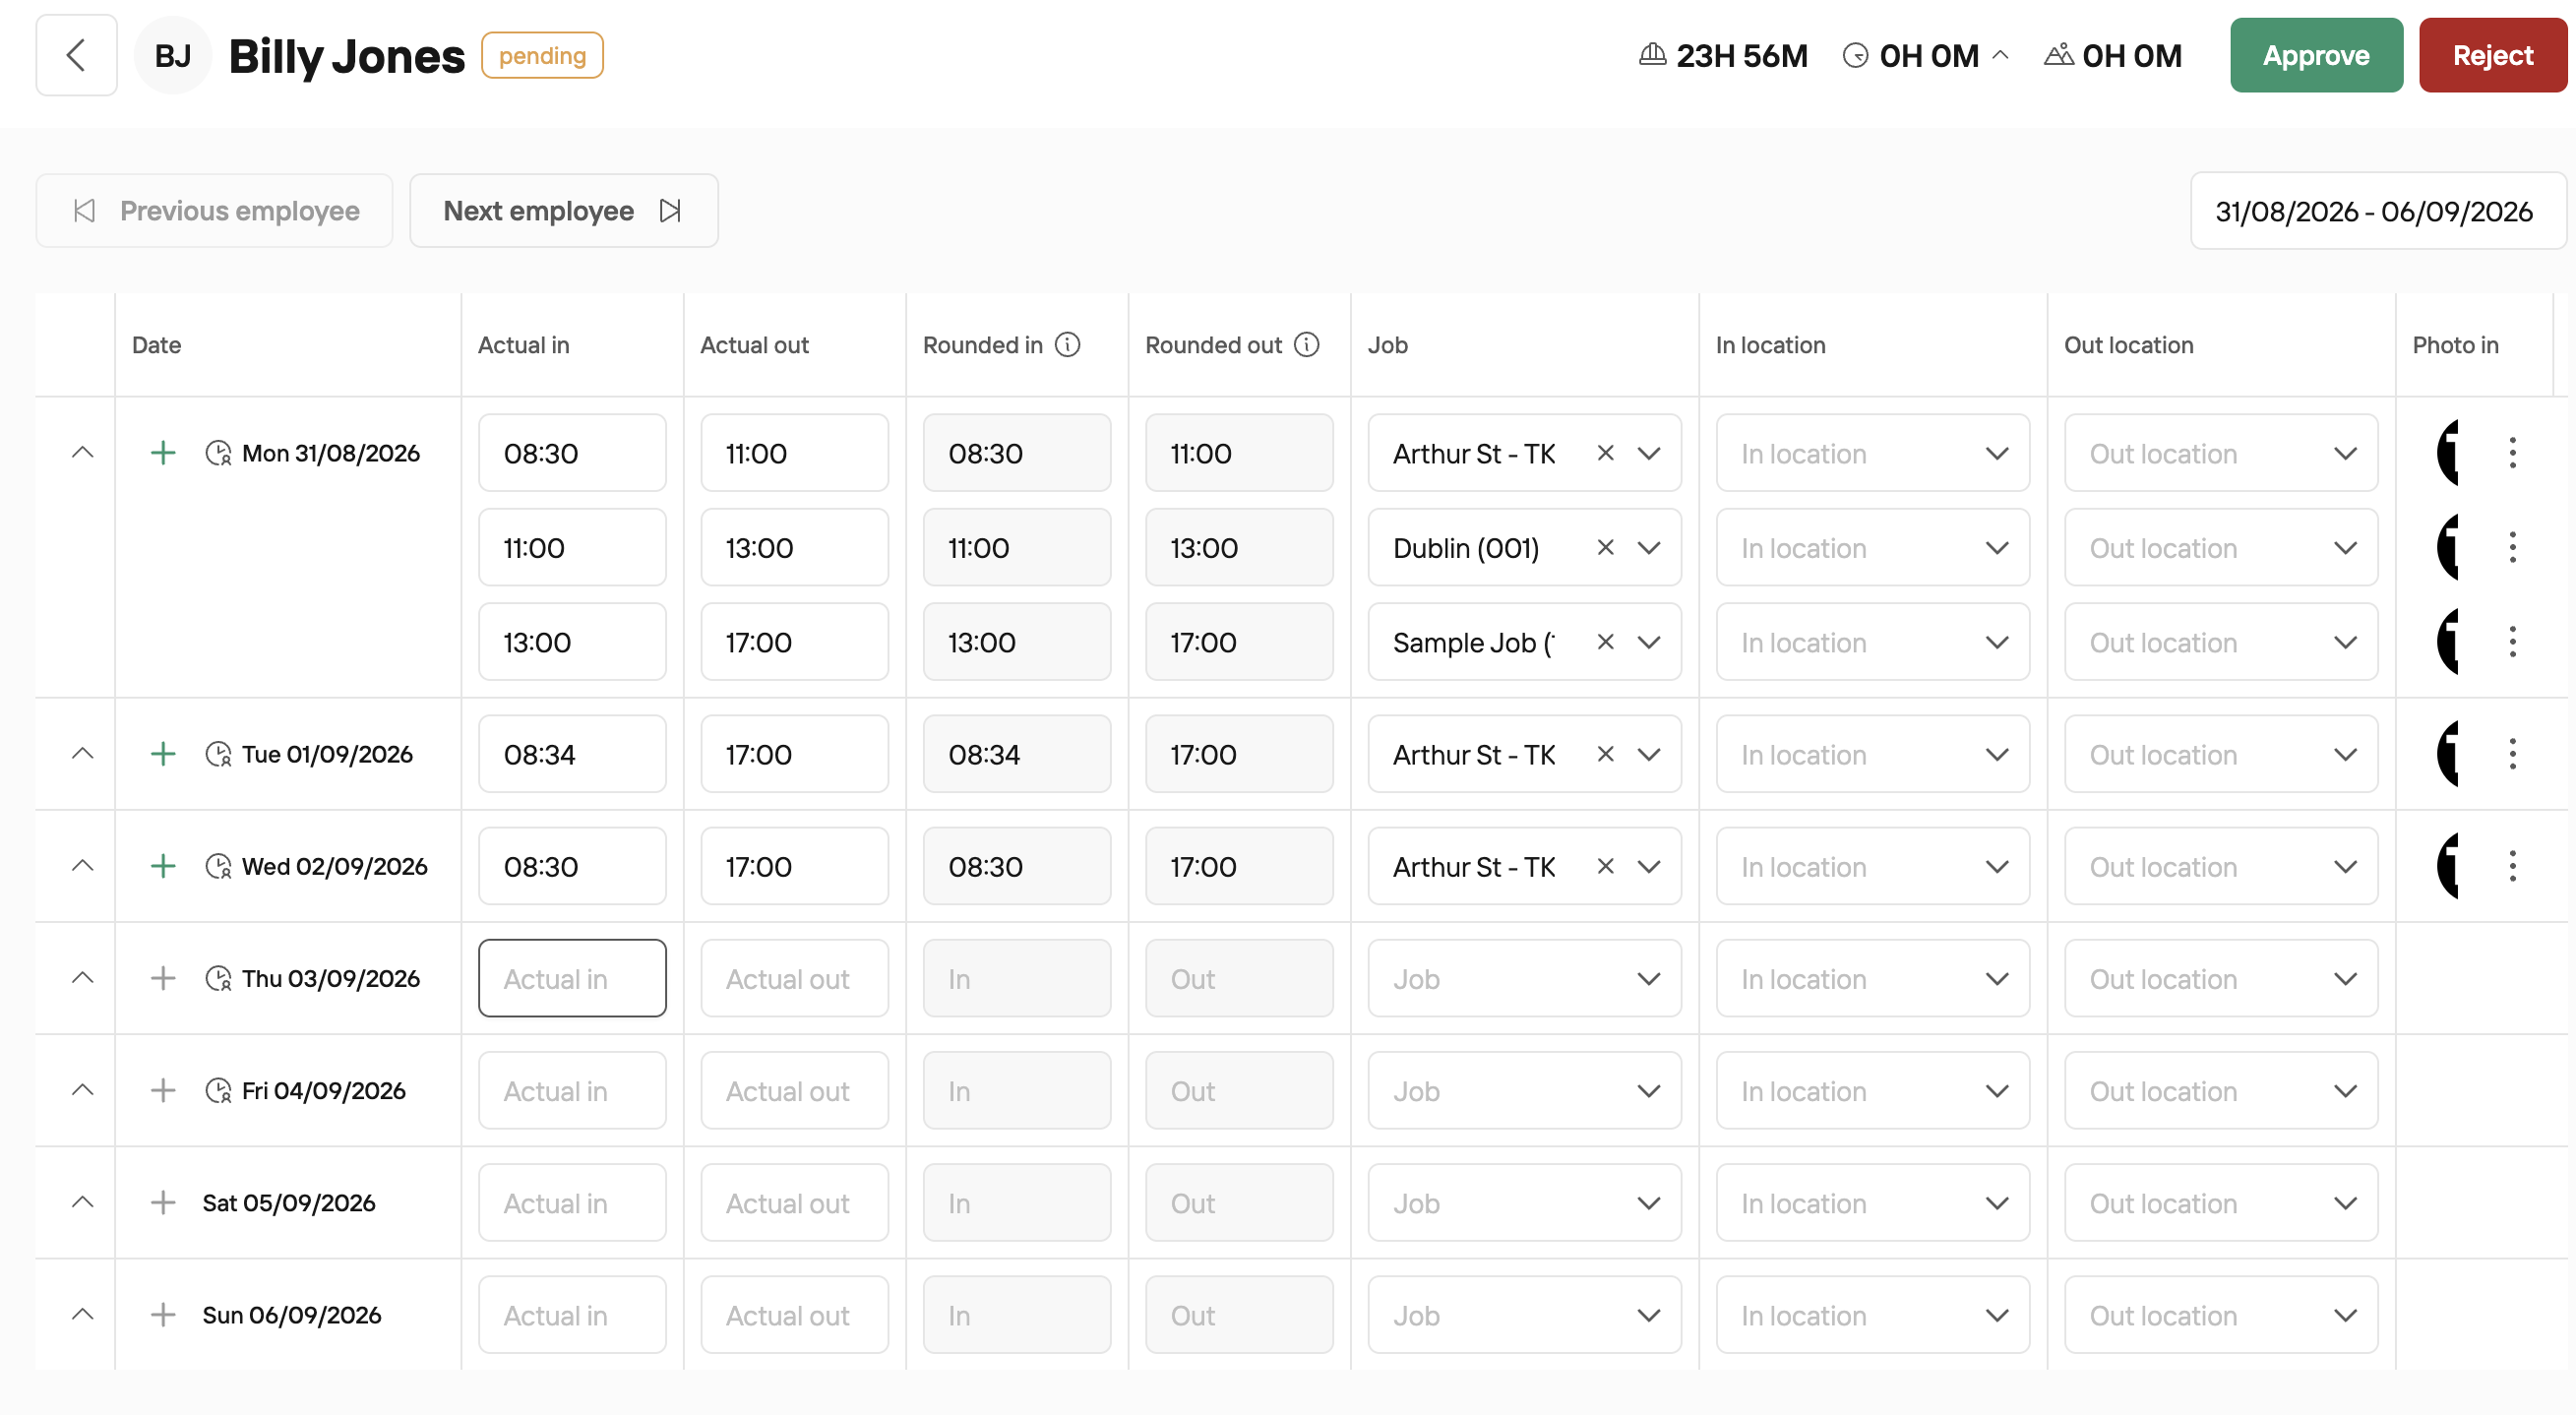
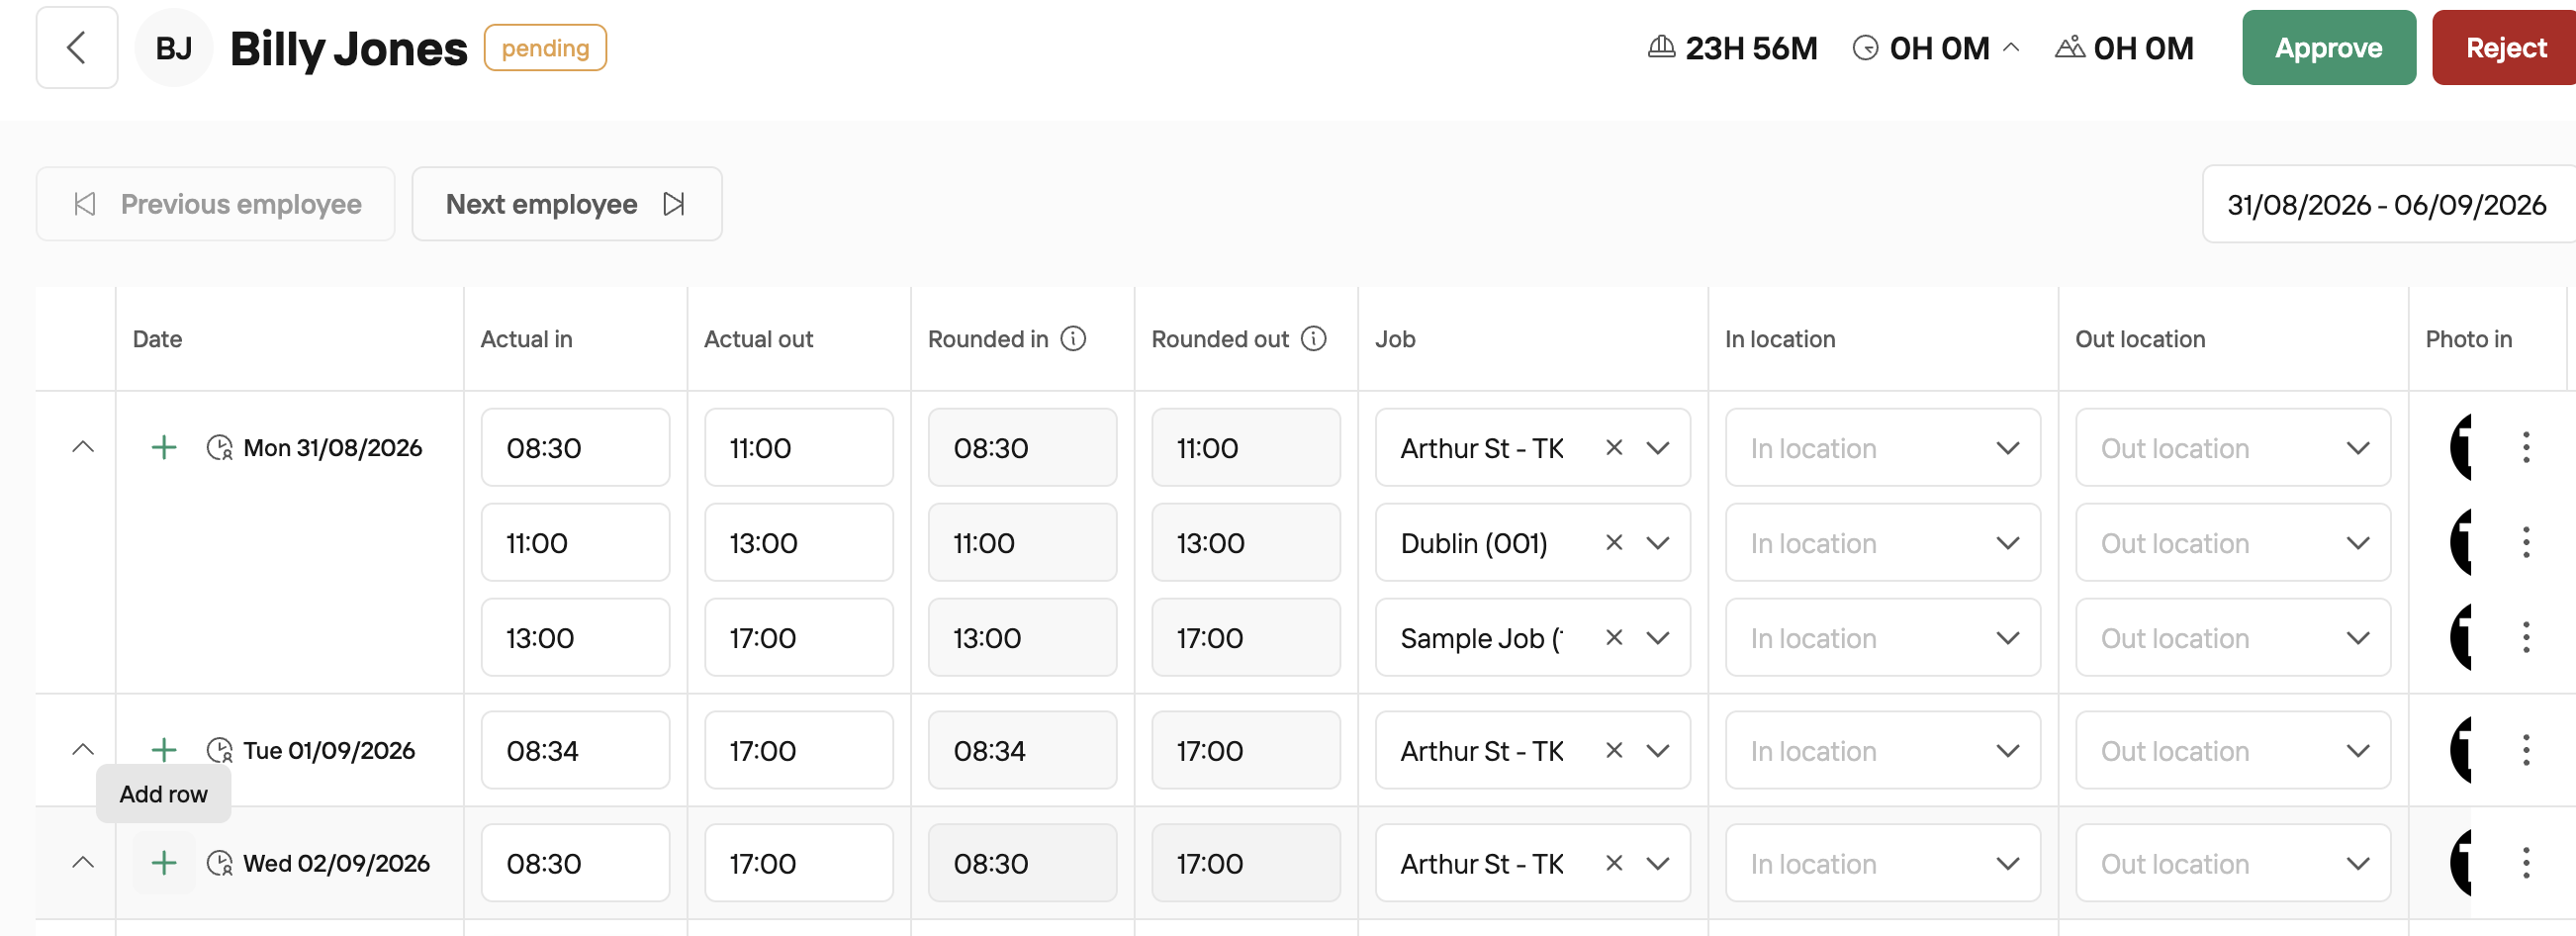
To add another time entry within a day, press the plus icon that appears.
Editing details of a time entry
To view or edit the details of a time entry, you can directly change the in time, out time as well as the job selected. To change other details on this time entry just click on the details panel and free type time changes or use the drop down menu to change jobs or locations.
Delete a Time Entry
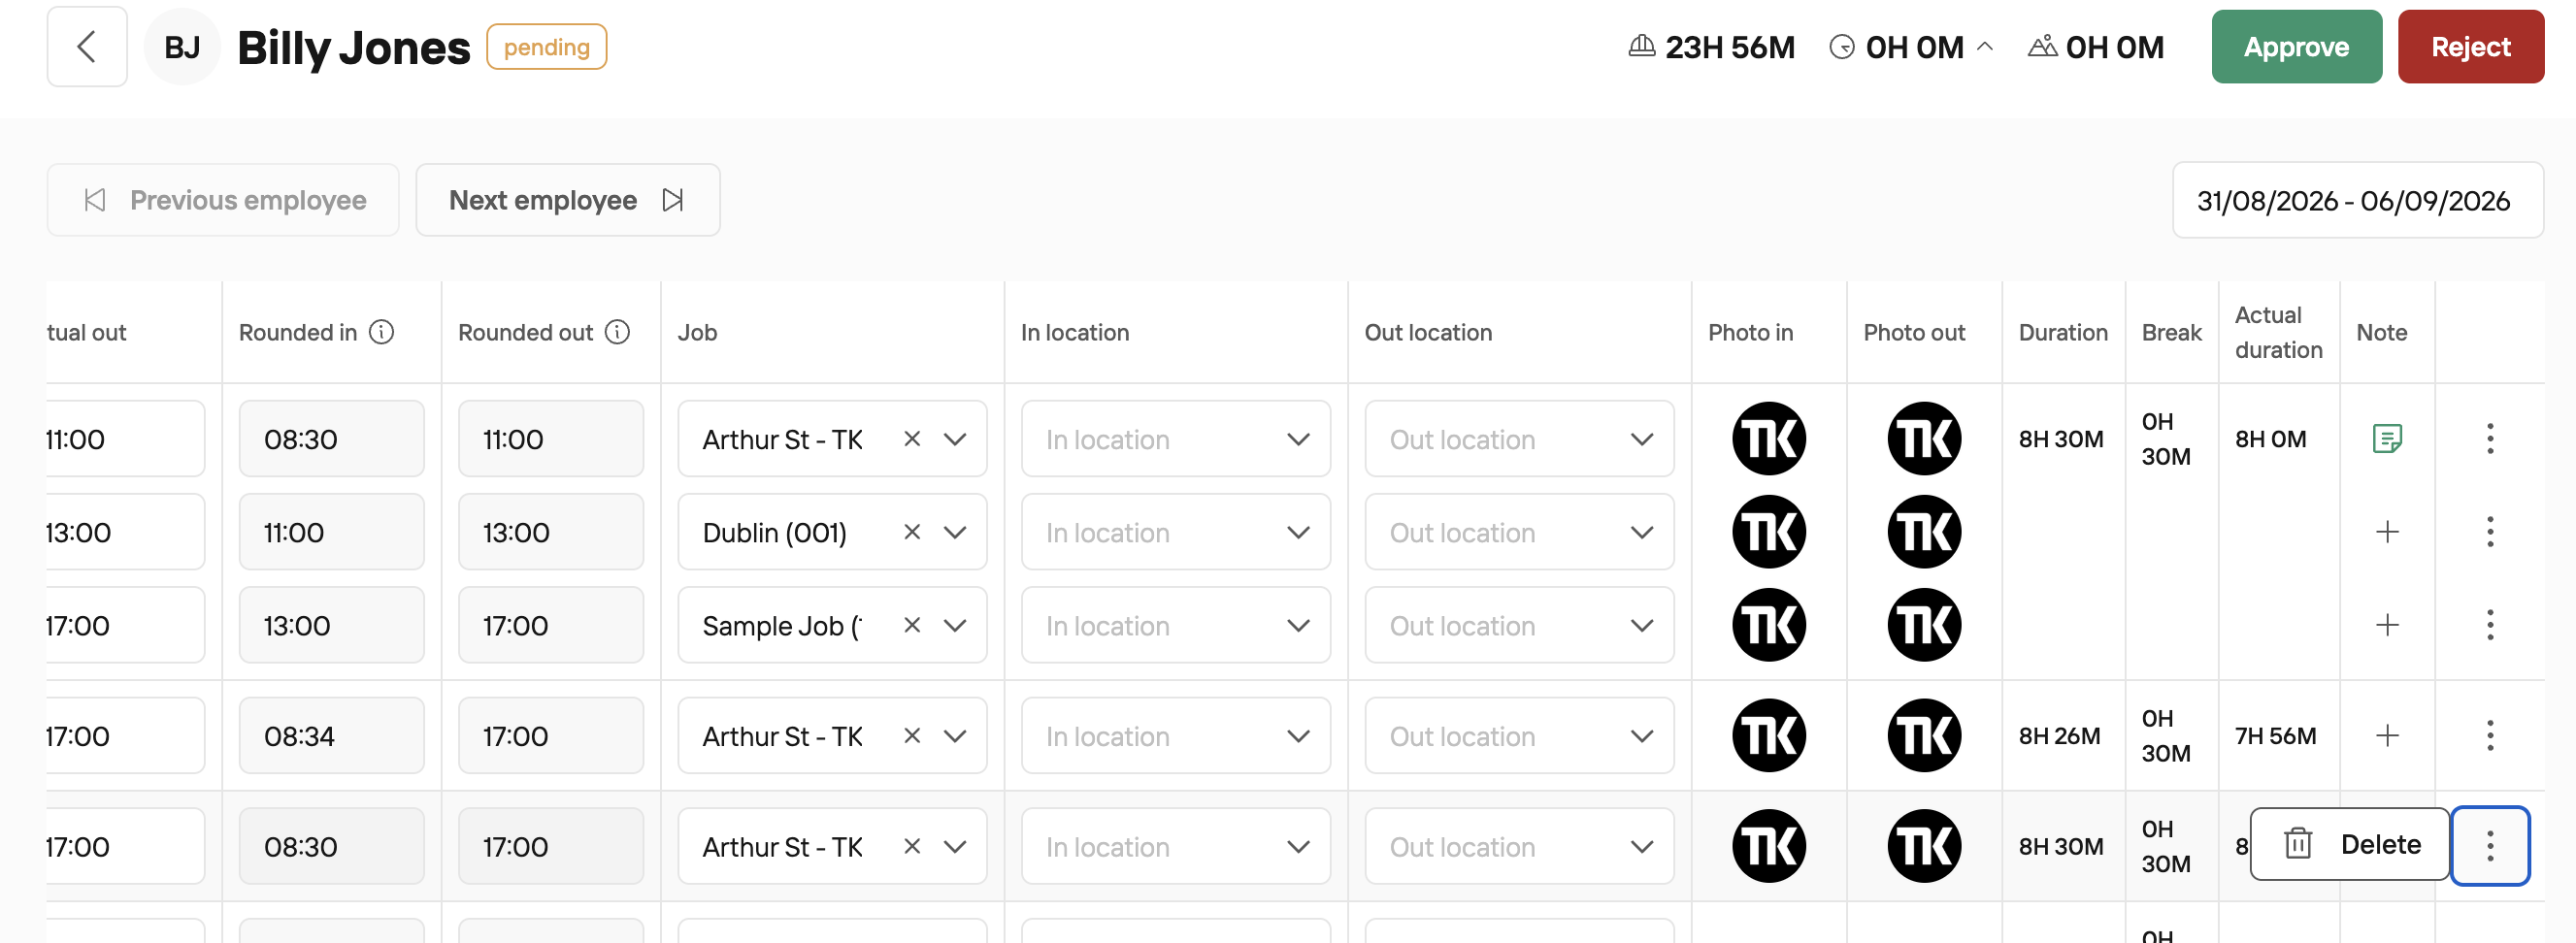
To delete a time entry, just click the three dots on the right hand side of the entry and then click "Delete Time Entry". You will be asked to confirm deletion of this entry, once confirmed, the time entry is deleted.
Conflicting Time Entries
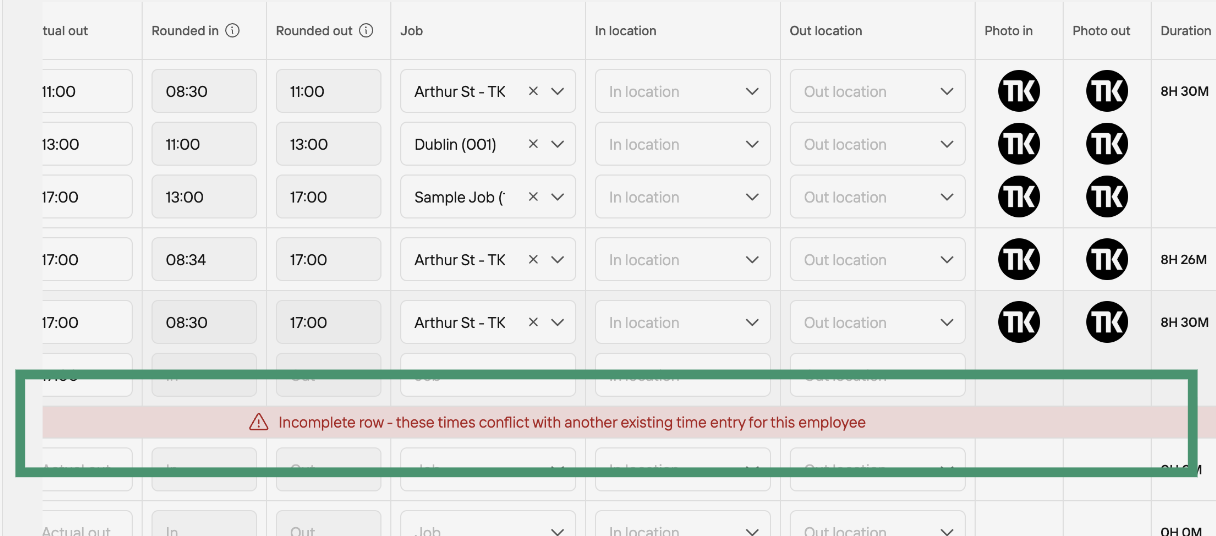
A common issue administrators run into is "conflicting time entries" error message which says the below "These times conflict with another existing time entry for this employee". What this means is that this time entry overlaps with an existing time entry, e.g. the employee may be already clocked in and has a time entry for that day, and if you added a manual time entry on top of that - we can't add that as it conflicts with their existing time entry. In that case, better to edit the existing time entry or remove any conflicting time entries before adding the new time entries.
That's how you add, manage and delete time entries. If you have any queries on this please message us in our widget or contact us at [email protected].