
Add a Location
This guide explains how to add a new location in TimeKeeper. Setting up locations correctly helps you organise employees, and time entries by fixed working locations, ensuring accurate reporting and easier management. By following the steps below, you will learn how to access the Locations area, create a new location, complete the necessary details, and save it so it’s ready to be used across your TimeKeeper account.
1. Go to the Company Tab
Click in Locations
2. Start Adding a New Location
On the Locations page, click the Add New Location
A New Location form will open.
3. Enter Location Details
Fill in the fields shown on the form.
Location Name
Location Number
Address Details
Geoboundary (optional)
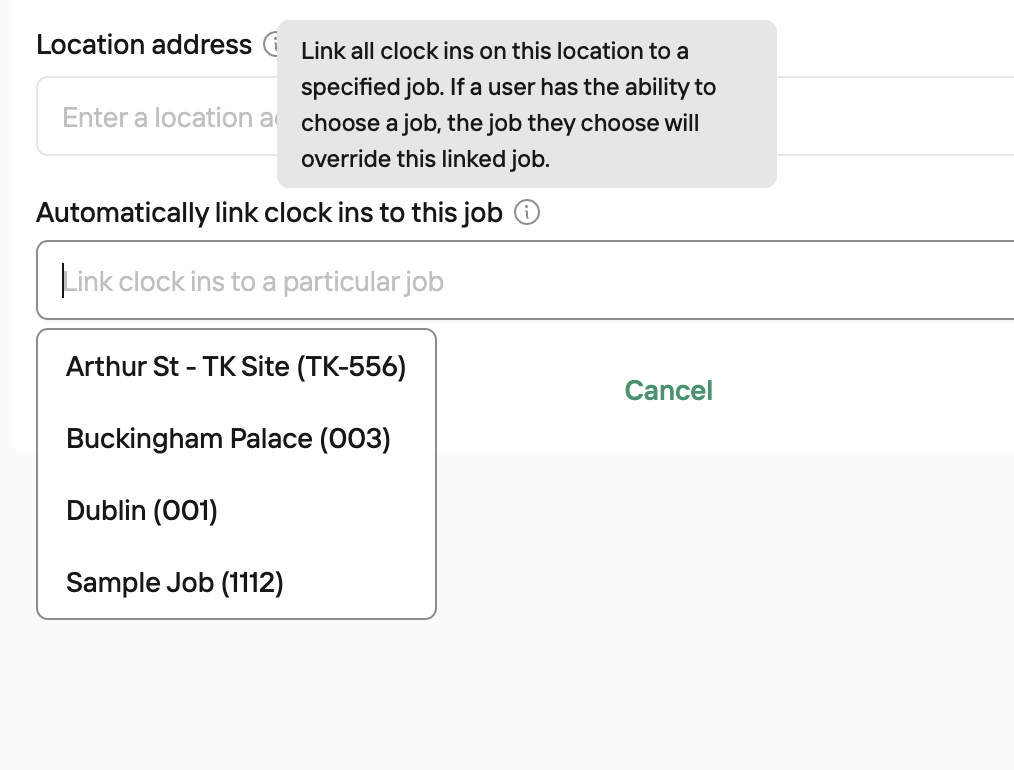
4. Set the Location to Job
6. Save the New Location
Review the details you’ve entered to make sure everything is correct.
Click Save
You will be returned to the Locations list, and the new location should now appear.