
Add a Job
This guide walks you through the process of creating and configuring jobs in TimeKeeper. By the end, you will be able to:
Add new jobs into TimeKeeper
Configure core job details
Assign jobs to the correct locations, teams, or employees
Save and verify your job so it is ready to use for time tracking and reporting
Use this document as a reference when onboarding new jobs or updating your existing job list.
1. Accessing the Jobs Section
Log in to TimeKeeper with your administrator or manager account.
From the main navigation menu, go to the Jobs section.
You will see a list of existing jobs (if any) and options to add or import jobs.
2. Creating a New Job
Click Add New Job
To Import Jobs - please follow this guide
3. Completing Job Details
Fill in the core job information fields:
Job Name
Job Number
Job Address
Description (optional)
Geofencing (optional)
Client
4. Assigning Job Attributes
Depending on your configuration, you may want to complete additional fields such as:
Require Signature
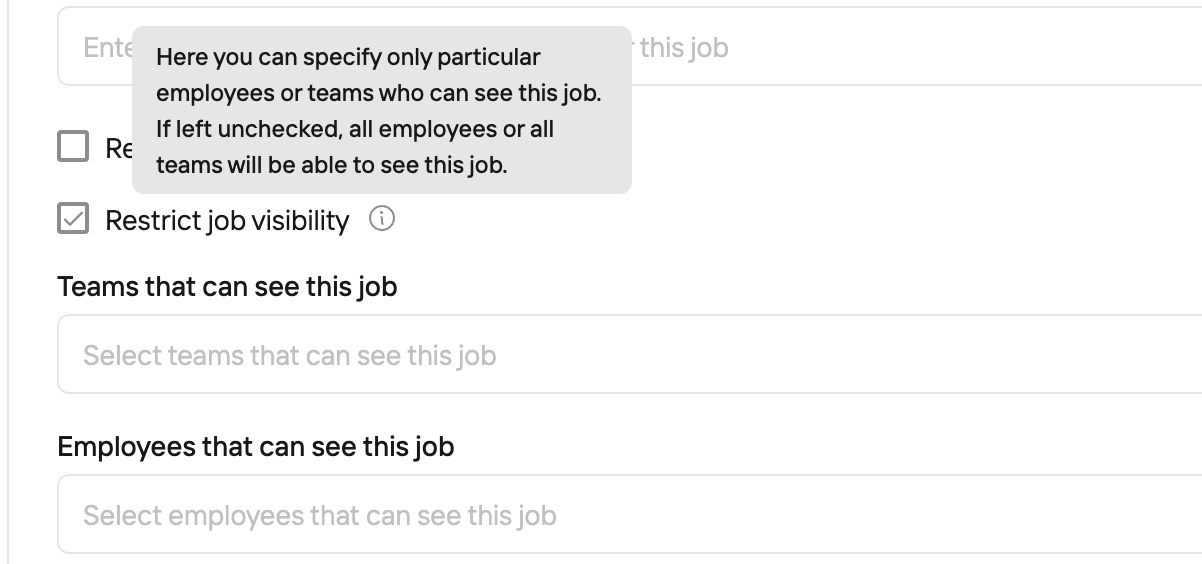
Restrict Job Visibility
5. Saving the Job
Review all details to ensure you are happy
Click Save to confirm.
Confirm there are no error messages and that the job appears in the jobs list.
6. Editing or Mark as Complete
If you need to update a job:
Return to the Jobs section.
Locate the job in the list and click the three dots on the far right

From here you can edit, delete or mark as complete.
To preserve historical data such as time entries, photos, and signatures, we recommend marking jobs as Complete rather than deleting them.
Deleting a job will permanently remove all associated time entries and job information, and once deleted, it cannot be restored.